

How to Make Your Own Stop Motion Ball
Timeline: 1 week, Nov 23rd, 2025 - Nov 30th,2025
Tools: After Effects, Sony Film Equipment, and Paper/Markers
Role: Producer, Cameraman, Designer and Editor
Executive Summary
Have you ever wanted to get into stop motion but don’t really know how? Well, have I got the deal for you! In this weeks class, I had the opportunity to create my very own How-To Video/ Tutorial Video. And I wanted to do something for the creative people out there: teaching them stop motion.
Background
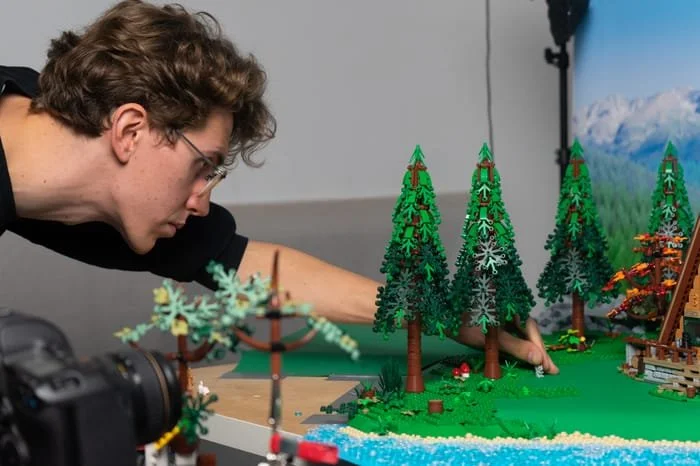
I do love stop motion. Like a lot. I was a big Lego’s kid especially, so stop motion is particially in my blood. As a result, there is a lot of good that came out of that! Specifically for this project. When I learned we were going to make a How-To Video, I knew I wanted to something related to stop motion.
Because drawing has been a part of my life since I was a kid. And since I love to make small animations myself, what better way to mix both worlds than with a how-to video on both?
Inspirations
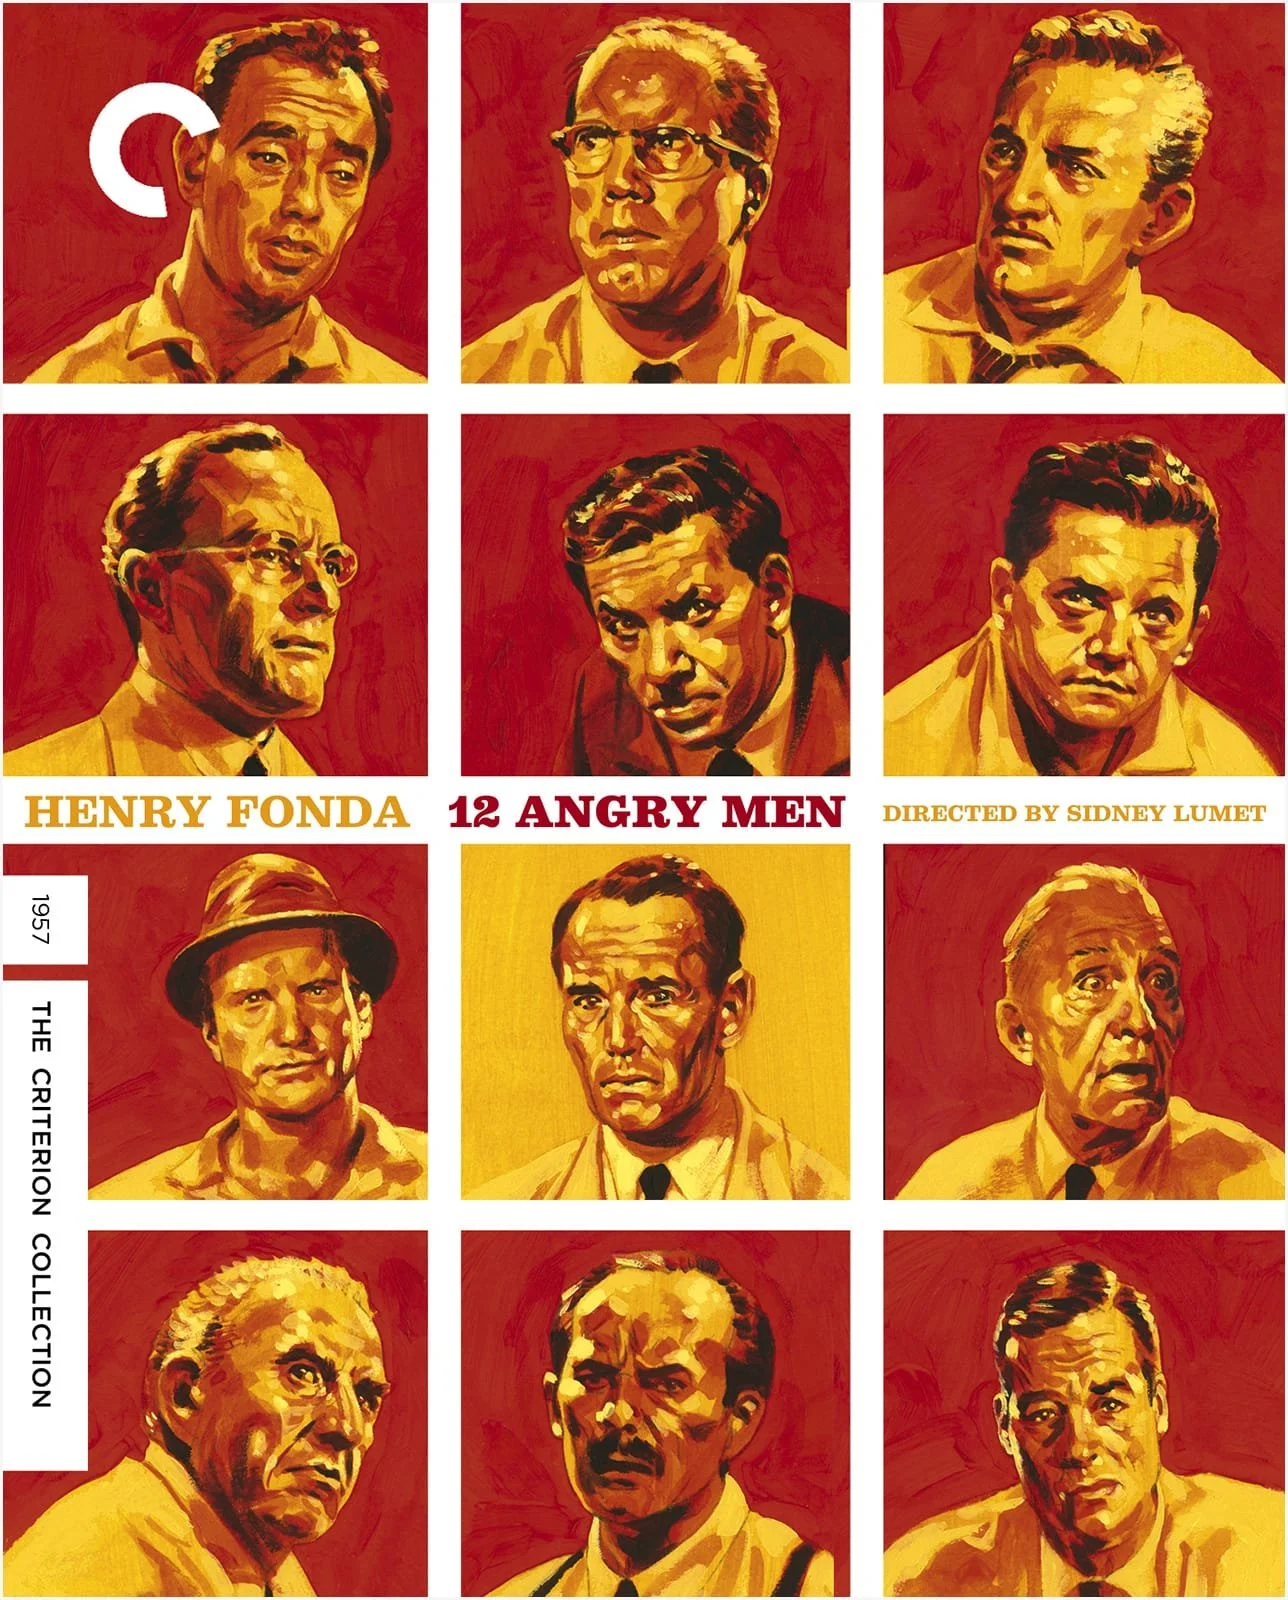
My biggest inspiration though for my how-to were films that really stuck to a specific narrative and made it work for them. 12 Angry men and Chicago were two of my biggest inspirations as a result.
The way they capture the audience’s attention, never making you look away once in fear of missing something. I wanted to implement that element into my own video, because despite my knowledge of stop motion, if people get bored, it doesn’t really matter how good you are.
Process
This project is probably the hardest thing I have ever worked on. I was given only a week to complete this project. So there must be some sort of structure I needed to do, because otherwise, I was going to be filming too much. So a path was now there, it’s time to follow it.
Preparing to Shoot the Video
I did have a lot of work to do before I even got to film. Mainly, I wanted to prepare everything I could. So I focused on smaller things at first. I began creating the ball that I wanted to film, and I also wanted to create a spirte character for myself at the time. I wasn’t ready to film my whole face yet.
But that still didn’t stop me. Despite the nerves, I knew what I wanted to teach: I wanted to make a 12 step animation, that almost anyone could do from their own home. I didn’t want to pressure anyone or say the stop motion had to be perfect. I just wanted to let people have a good time.
Physical Filming
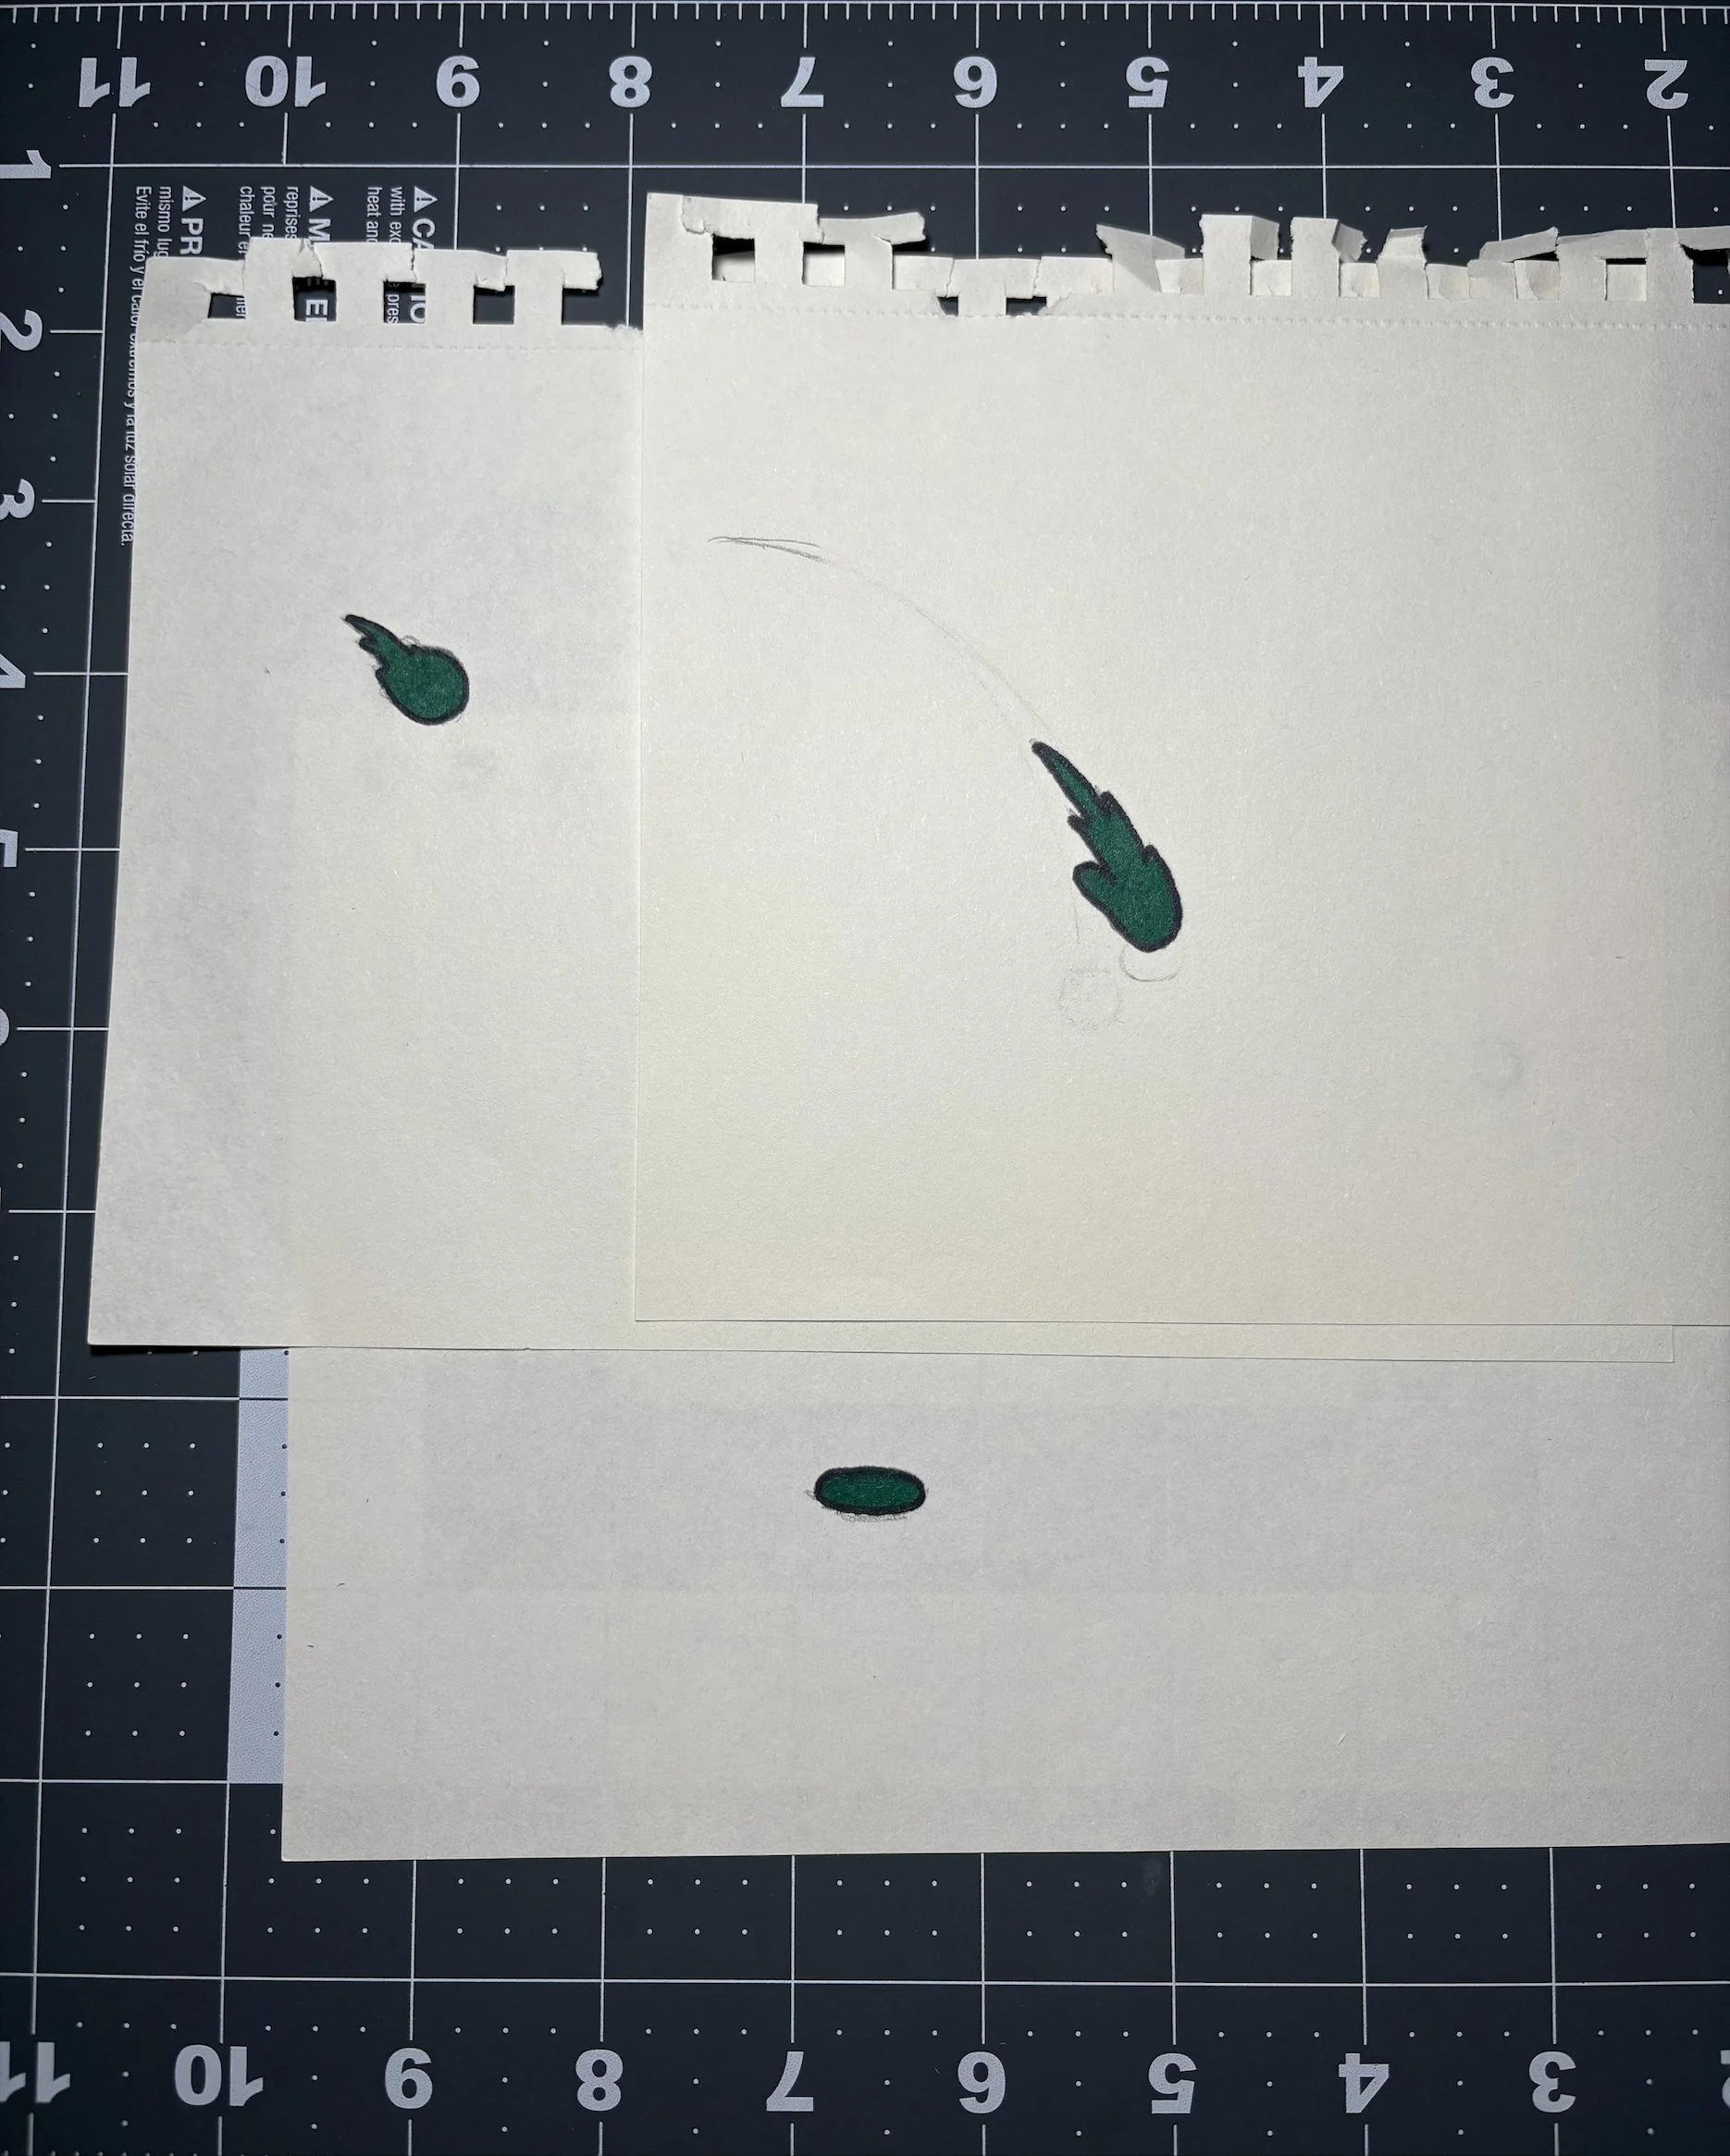
Getting ready was also just the start. In order to make a good How-To Video, I also needed to film extra content too! So like one of the things I showed was how to simplify movement by adding blur to an object. Perhaps a small thing to most people, but to me, it meant people could expand, and try new things if the actual tutorial seemed limitted.
Final Product
After filming by myself and with some of my friends, I managed to create the actual video, and while editting it as well, I learned to really enjoy this project. It’s a great way of showing your best skills while also understanding that people are genuinely curious and want to learn. By doing this, we help out in some way.
Reflection
Ulimately, I really enjoyed making my How-To. It was really fun. I especially want to appreciate the work normal how-to videos do. Many are so well edited and while the how-to may not take that long to create, getting a look at the physical process of filming, editing and explaining the content in a fun and engaging way really shows how much work users do, and for that, I really think we should love those videos that taught us silly hacks and important life skills.
Next Steps
Where to head next:
I really want to add on to more How-Tos like this!
If I can, I want to learn After Effects a bit more too. A lot of the transitions were fun, but I didn’t know them that well at the time.
And finally, I want to learn more stop motion tricks so my future work will be showcased better than ever!